Table of Contents
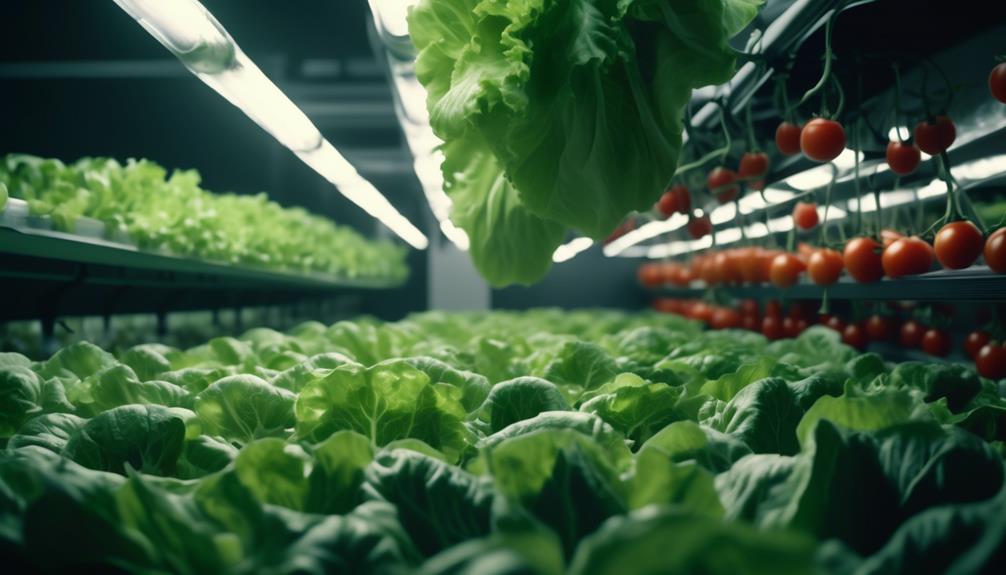
Tomatoes are one of the most popular and versatile fruits (yes, fruits!) that you can grow at home. They are delicious, nutritious, and easy to use in salads, sandwiches, sauces, soups, and more. But did you know that you can grow tomatoes without soil? That’s right, you can grow hydroponic tomatoes indoors or in a greenhouse, using water and nutrients instead of soil. This way, you can enjoy fresh and juicy tomatoes all year round, regardless of the weather or season.
But how do you grow hydroponic tomatoes? What are the benefits and drawbacks of this method? What do you need to get started? And how do you take care of your tomato plants and harvest them? In this article, we will answer all these questions and more. We will show you how to grow hydroponic tomatoes step by step, from choosing the best system and materials to planting, maintaining, and harvesting your tomatoes. We will also share some tips and tricks to make your hydroponic tomato growing experience a success.
So let’s get started!
What is Hydroponics?
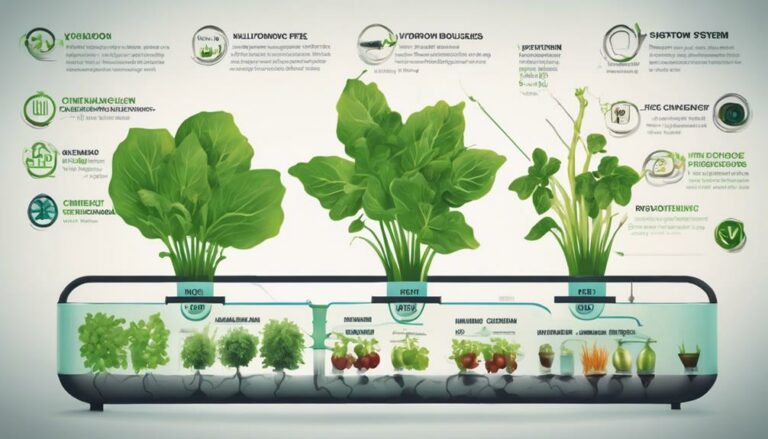
Hydroponics is a method of growing plants without soil. Instead of using soil as a medium to hold water and nutrients for the plants, hydroponics uses an inert material such as perlite, coco coir, rockwool, or clay pebbles. The plants are placed in containers filled with this material, which supports their roots and holds moisture. The plants are then fed with a nutrient solution that contains all the minerals they need to grow. The nutrient solution is either pumped or gravity-fed to the plant roots through tubes or pipes.
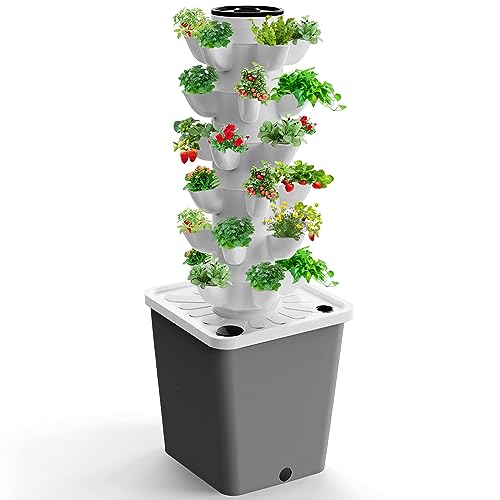
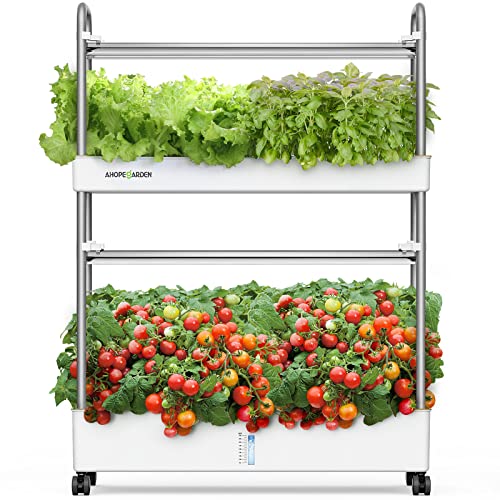
There are many types of hydroponic systems available, such as deep water culture (DWC), ebb and flow, drip, aeroponics, aquaponics, and nutrient film technique (NFT). Each system has its own pros and cons, depending on your budget, space, skill level, and plant preferences. You can also buy ready-made hydroponic kits that come with everything you need to set up your system. Or you can build your own system from scratch using common household items.
Benefits of Growing Tomatoes Hydroponically
Growing tomatoes hydroponically has many advantages over growing them in soil. Here are some of them:
- You can grow tomatoes all year round, indoors or in a greenhouse. You don’t have to worry about frost, drought, or pests that can ruin your crop outdoors.
- You can save space and water with hydroponics. You can grow more plants in less space by stacking or hanging your containers vertically or horizontally. You can also reuse the water in your system by recycling it through a reservoir. Hydroponics uses up to 90% less water than soil gardening.
- You can grow tomatoes faster and healthier with hydroponics. You can provide your plants with optimal conditions for growth by controlling the temperature, humidity, light, and pH levels. You can also give your plants the exact amount of nutrients they need at each stage of their development. As a result, your plants will grow faster and produce higher yields and better-quality fruits.
- You can avoid soil-borne diseases and pests with hydroponics. You don’t have to deal with weeds, fungi, bacteria, nematodes, insects, or rodents that can infest your soil and harm your plants. You also don’t have to use pesticides or herbicides that can be harmful to your health and the environment.
Drawbacks of Growing Tomatoes Hydroponically
Growing tomatoes hydroponically also has some disadvantages that you should be aware of. Here are some of them:
- You need more initial investment and technical knowledge of hydroponics. You need to buy or build a hydroponic system and learn how to use it properly. You must also monitor and adjust the water level, pH, temperature, humidity, and nutrient concentration regularly. You need to be familiar with the equipment and the plants you are growing.
- You need more time and attention with hydroponics. You need to check on your plants daily and perform routine maintenance on your system. You require to prune and train your plants to prevent them from overgrowing or tangling. You ought to pollinate your plants manually or with a fan or a brush.
- You may face some organic or safety issues with hydroponics. Some people argue that hydroponic tomatoes are not organic because they do not get microbiomes from the soil. Some people also worry about the safety of using water and electricity together in a hydroponic system. There is also a risk of water-borne microorganisms or diseases that may affect your plants.
How to Choose the Best Hydroponic System for Tomatoes
There are many types of hydroponic systems available, each with its own advantages and disadvantages. The best hydroponic system for tomatoes depends on your budget, space, skill level, and plant preferences. Here are some of the most common hydroponic systems for tomatoes and their pros and cons:
Deep water culture (DWC)
This is a simple and cheap system that consists of a reservoir filled with nutrient solution and an air pump that oxygenates the water. The plants are suspended in net pots above the water with their roots submerged in it. This system is good for small and fast-growing plants like cherry tomatoes or lettuce.
- Pros: Easy to set up and maintain; low cost; high oxygenation; no clogging; no waste
- Cons: Low stability; prone to root rot; difficult to change water; limited plant size
Ebb and flow
This is a versatile and efficient system that consists of a reservoir filled with nutrient solution and a grow tray filled with growing medium. The nutrient solution is pumped from the reservoir to the grow tray periodically and then drained back to the reservoir. This system is good for medium-sized plants like beefsteak tomatoes or peppers.
- Pros: Flexible design; high stability; easy to change water; suitable for different media; low maintenance
- Cons: High cost; risk of flooding or drying; potential clogging; waste of water and nutrients
Drip
This is a precise and productive system that consists of a reservoir filled with nutrient solution and a network of tubes that deliver the solution drop by drop to each plant. The excess solution is either collected back in the reservoir or discarded. This system is good for large and heavy-feeding plants like indeterminate tomatoes or cucumbers.
- Pros: High control; high yield; low water usage; easy to adjust; suitable for different media
- Cons: High cost; complex setup; risk of clogging or leaking; waste of nutrients
Aeroponics
This is an advanced and innovative system that consists of a reservoir filled with nutrient solution and a chamber where the plants are suspended in mid-air. The nutrient solution is sprayed as a fine mist onto the roots of the plants by nozzles or sprinklers. This system is good for experimental or high-tech growers who want to optimize their growth conditions.
- Pros: High oxygenation; high yield; low water usage; low risk of disease; easy to harvest
- Cons: High cost; complex setup; high maintenance; risk of malfunction or power outage
Aquaponics
This is a unique and eco-friendly system that combines hydroponics with aquaculture (fish farming). The fish produce waste that is converted into nutrients by beneficial bacteria for the plants. The plants filter the water for the fish in return. This system is good for organic or sustainable growers who want to produce both food and fish.
- Pros: Natural fertilizer; no waste; low water usage; diverse production
- Cons: High cost; complex setup; high maintenance; ethical issues
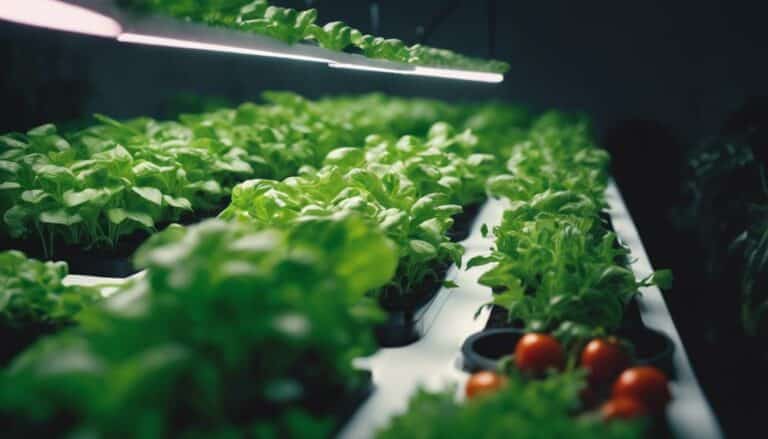
How to Choose the Best Grow Lights for Tomatoes
Tomatoes are sun-loving plants that need a lot of light to grow and produce fruits. If you are growing them indoors or in a greenhouse, you may need to supplement them with artificial light, especially during the winter or cloudy days. But not all grow lights are suitable for tomatoes. You need to choose a grow light that can provide the right spectrum, intensity, and duration of light for your plants.
The spectrum of light refers to the different colors or wavelengths of light that a grow light emits. Plants use specific frequencies of light for photosynthesis and other processes. Tomatoes mainly need blue and red light, but they also benefit from other colors such as green, yellow, orange, and far-red.
Blue light is important for the vegetative stage of tomatoes, when they grow their leaves and stems. It also increases the vitamin C content of the fruits and makes the plants more resistant to disease. However, too much blue light can reduce the rate of photosynthesis and stunt the growth of the plants.
Red light is essential for the flowering and fruiting stage of tomatoes, when they produce flowers and fruits. It also enhances the yield and quality of the fruits and makes the plants more tolerant to stress. However, too little red light can delay or prevent flowering and fruiting.
Far-red light is a special type of red light that has a longer wavelength than regular red light. It can stimulate the flowering and fruiting of tomatoes by increasing the length of their day cycle. It can also increase the stem elongation and leaf expansion of the plants.

The intensity of light refers to how bright or powerful a grow light is. It is measured in lumens (lm), which is the amount of visible light emitted by a source. The higher the lumens, the brighter the light. Tomatoes need a high-intensity light to grow well and produce fruits. The optimal intensity for tomatoes is between 6,000 and 8,000 lumens per square foot.
The duration of light refers to how long a grow light is on or off in a day. It is also known as the photoperiod or day length. The duration of light affects the flowering and fruiting of tomatoes by triggering their response to seasons. Tomatoes are short-day plants, which means they flower and fruit when the days are shorter than 12 hours.
The best grow lights for tomatoes are those that can provide a full spectrum of light with a high ratio of red to blue light, a high intensity of at least 6,000 lumens per square foot, and a variable duration of 12 to 18 hours per day depending on the stage of growth.
There are many types of grow lights available on the market today, such as fluorescent, LED, HID, and induction lights. Each type has its own advantages and disadvantages in terms of spectrum, intensity, efficiency, cost, lifespan, heat output, and safety.
Here are some examples of grow lights that are suitable for tomatoes:
- VIPARSPECTRA XS Series LED Grow Lights: These are full-spectrum LED grow lights that have a dimmer control switch that allows you to adjust the intensity from 0% to 100%. They also have an optimized spectrum with more red and blue light than white light. They are energy-efficient, durable, quiet, and easy to install.
- Kind K3 XL300 LED Grow Light: This is a professional-grade LED grow light that has a 12-band spectrum that includes UV and IR light. It also has a secondary optical lens that magnifies the intensity by 200%. It is powerful, reliable, cool-running, and long-lasting.
- Philzon COB 2000W LED Grow Light: This is a budget-friendly LED grow light that has COB (chip on board) technology that provides better light density and uniformity than regular LEDs. It also has a full spectrum with UV and IR light. It has a large coverage area, a dual cooling system, and a daisy chain function.
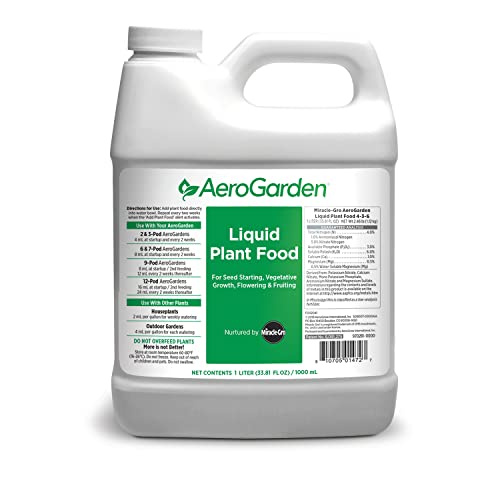
How to Choose the Best Nutrients for Tomatoes
Tomatoes are heavy feeders that need a lot of nutrients to grow and produce fruits. In hydroponics, you need to provide them with a nutrient solution that contains all the minerals they need to grow. The nutrient solution is either pumped or gravity-fed to the plant roots through tubes or pipes.
There are many types of nutrients available for hydroponic tomatoes, such as organic or synthetic, liquid or powder, single-part or multi-part, and general-purpose or specific-purpose. Each type has its own advantages and disadvantages in terms of cost, availability, ease of use, and suitability for different plants.
The best nutrients for tomatoes are those that can provide a balanced and complete mix of macronutrients and micronutrients. Macronutrients are the nutrients that plants need in large amounts, such as nitrogen (N), phosphorus (P), and potassium (K). Micronutrients are the nutrients that plants need in small amounts, such as magnesium (Mg), calcium (Ca), boron (B), and zinc (Zn).
Tomatoes also need different ratios of nutrients depending on their stage of growth. For example, they need more nitrogen during the vegetative stage to grow their leaves and stems. They need more phosphorus and potassium during the flowering and fruiting stage to produce flowers and fruits. They also need more calcium and magnesium to prevent blossom end rot and other disorders.
The best way to choose the best nutrients for tomatoes is to read the label of the product and look for the N-P-K ratio. This ratio indicates the percentage of nitrogen, phosphorus, and potassium in the product. For example, a product with an N-P-K ratio of 10-10-10 has 10% of each nutrient.
The best N-P-K ratio for tomatoes varies depending on who you ask, but a general rule of thumb is to use a higher N-P-K ratio during the vegetative stage (such as 18-18-21) and a lower N-P-K ratio during the flowering and fruiting stage (such as 5-10-10). You can also use a balanced N-P-K ratio throughout the season (such as 10-10-10) and adjust it according to your plants’ needs.
Here are some examples of nutrients that are suitable for tomatoes:
- General Hydroponics Flora Series: This is a popular and versatile nutrient system that consists of three parts: FloraGro, FloraBloom, and FloraMicro. You can mix these parts in different ratios to create different formulas for different stages of growth. For example, you can use more FloraGro during the vegetative stage and more FloraBloom during the flowering and fruiting stages. This system also contains micronutrients such as calcium, magnesium, boron, and zinc.
- Fox Farm Big Bloom: This is an organic nutrient solution that contains earthworm castings, bat guano, Norwegian kelp, and other natural ingredients. It is rich in phosphorus and potassium that promote flowering and fruiting. It also contains micronutrients such as calcium, magnesium, sulfur, and iron.
- MasterBlend Tomato Formula: This is a synthetic nutrient solution that contains calcium nitrate, magnesium sulfate, and a tomato formula with an N-P-K ratio of 4-18-38. It is designed specifically for tomatoes and other fruiting crops. It provides high levels of phosphorus and potassium that enhance yield and quality. It also contains micronutrients such as boron, copper, manganese, molybdenum, and zinc.

How to Choose the Best Tomato Varieties for Hydroponics
One of the first steps to growing hydroponic tomatoes is choosing the best tomato varieties for your system. There are hundreds of tomato varieties available, but not all of them are suitable for hydroponic growing. Some factors to consider when choosing a tomato variety for hydroponics are:
- Disease resistance: Hydroponic tomatoes are less prone to soil-borne diseases, but they can still be affected by fungal, bacterial, or viral diseases that can spread through the air or water. Therefore, it is important to choose a tomato variety that has a high level of disease resistance. Look for varieties that have letters after their names, such as V (verticillium wilt), F (fusarium wilt), N (nematodes), T (tobacco mosaic virus), or A (alternaria stem canker).
- Growth habit: Tomato plants can be classified into two main types based on their growth habit: determinate and indeterminate. Determinate tomatoes are those that grow to a certain size and then stop growing. They produce all their fruit at once and then die. Indeterminate tomatoes are those that keep growing and producing fruit until they are killed by frost or disease. Indeterminate tomatoes are more suitable for hydroponic systems because they can be trained to grow vertically and save space. They also produce a continuous harvest throughout the season.
- Fruit size and shape: Tomato fruits can vary in size and shape, from tiny cherry tomatoes to large beefsteak tomatoes. The size and shape of the fruit will affect the yield and quality of your hydroponic tomatoes. Generally, smaller fruits are easier to grow and have a higher yield per plant than larger fruits. However, larger fruits may have a better flavor and texture than smaller fruits. The shape of the fruit will also affect how well it fits in your hydroponic system. For example, round or oval fruits are more suitable for ebb and flow systems, while plum or pear-shaped fruits are more suitable for drip or NFT systems.
- Flavor and color: Tomato flavor and color are largely determined by personal preference and culinary use. Some people prefer sweet and juicy tomatoes, while others prefer tangy and firm tomatoes. Some people like red tomatoes, while others like yellow, orange, purple, or green tomatoes. The flavor and color of your hydroponic tomatoes will depend on the variety you choose, as well as the nutrient solution you use and the environmental conditions you provide.
Some examples of tomato varieties that are well-suited for hydroponic growing are:
- Cherry Bomb: A cherry tomato variety that produces small, red, sweet, and crack-resistant fruits. It has a high disease resistance and a high yield.
- Gardener’s Delight: A cherry tomato variety that produces small, red, tangy, and juicy fruits. It has good disease resistance and a high yield.
- Rutgers: A round tomato variety that produces medium-sized, red, firm, and flavorful fruits. It has good disease resistance and a moderate yield.
- Sun Gold: A cherry tomato variety that produces small, orange, sweet, and fruity fruits. It has good disease resistance and a high yield.
- Brandywine: A beefsteak tomato variety that produces large, pink, soft, and richly flavored fruits. It has a low disease resistance and a low yield.
- Big Beef: A beefsteak tomato variety that produces large, red, firm, and meaty fruits. It has a high disease resistance and a high yield.
- Sweet Million: A cherry tomato variety that produces small, red, sweet, and crack-resistant fruits. It has a high disease resistance and a high yield.
- Rosada: A cherry plum tomato variety that produces small, pink-red, sweet, and juicy fruits. It has good disease resistance and a moderate yield.
- Pink Brandywine: A heritage beefsteak tomato variety that produces large, pink-red, soft, and richly flavored fruits. It has a low disease resistance and a low yield.
- Matt’s Wild Cherry: A cherry tomato variety that produces tiny, red-purple, sweet-tart, and delicate fruits. It has good disease resistance and a moderate yield.
- San Marzano: A plum tomato variety that produces large, red, firm, and sweet fruits. It has low disease resistance and a moderate yield. It has a deep red flesh and a low acidity
How to Start Your Hydroponic Tomato Seeds or Seedlings
Before you can grow hydroponic tomatoes, you need to start your seeds or seedlings. You have two options for this: you can either buy seedlings from a nursery or online, or you can start your own seeds from scratch. Starting your own seeds gives you more control over the variety and quality of your tomatoes, but it also requires more time and effort.
Here are the steps to start your own hydroponic tomato seeds:
- Choose a suitable growing medium for your seeds. You can use rockwool cubes, coconut coir, peat moss, perlite, vermiculite, or any other inert material that can hold moisture and air. Avoid using soil or compost, as they can introduce diseases and pests to your hydroponic system.
- Place your growing medium in a nursery tray or a container with drainage holes. Make sure the medium is moist but not soggy. You can soak it in water for a few minutes and then squeeze out the excess water.
- Sow your tomato seeds in the growing medium. You can use a toothpick or tweezers to pick up the seeds and place them on the surface of the medium. Press them lightly into the medium, but do not cover them completely. Tomato seeds need light to germinate.
- Cover the tray or container with a clear plastic dome or a plastic bag. This will create a humid and warm environment for the seeds to sprout. Place the tray or container in a warm and bright location, such as a windowsill or under artificial lights. The ideal temperature for tomato seed germination is between 20°C and 25°C (68°F and 77°F).
- Check on your seeds daily and mist them with water if they look dry. Do not overwater them, as this can cause damping off or fungal infections. You should see the seeds sprout within 5 to 10 days.
- Once the seeds have sprouted, remove the plastic cover and move the tray or container to a brighter location with at least 12 hours of light per day. You can use fluorescent lights, LED lights, or high-pressure sodium lights for this purpose.
- When the seedlings have developed their first true leaves (the second pair of leaves after the cotyledons), you can transplant them to your hydroponic system. Carefully remove them from the growing medium and rinse off any excess material from their roots. Place them in net pots filled with hydroton clay pebbles, rockwool cubes, or any other suitable growing medium for your hydroponic system.
Alternatively, you can buy seedlings from a nursery or online and skip steps 1 to 6.
However, make sure you choose healthy and disease-free seedlings that are suitable for hydroponic growing. You may also need to acclimatize them to your hydroponic system by gradually reducing their watering frequency and increasing their exposure to light before transplanting them.
How to Maintain Your Hydroponic Tomato Plants
Once you have transplanted your tomato seedlings to your hydroponic system, you need to maintain them properly to ensure healthy growth and high yield. This involves monitoring and adjusting the water level, pH, temperature, humidity, pruning, training, pollination, and pest and disease control.
Here are some tips on how to maintain your hydroponic tomato plants:
- Water level and pH: Check the water level in your reservoir daily and top it up with fresh water as needed. You may need to add more water during hot or dry weather, or when your plants are large and fruiting. Check the pH of your nutrient solution weekly and adjust it if necessary. The ideal pH range for hydroponic tomatoes is between 5.8 and 6.3. You can use pH up or pH down products to raise or lower the pH accordingly.
- Temperature and humidity: Keep the temperature in your growing area between 18°C and 26°C (65°F and 79°F) during the day and between 15°C and 18°C (59°F and 65°F) at night. Avoid extreme temperature fluctuations, as this can stress your plants and affect their fruit quality. Keep the humidity between 50% and 70%. You can use a humidifier or a dehumidifier to increase or decrease the humidity as needed. You can also use fans or vents to improve air circulation and prevent fungal diseases.
- Pruning and training: Prune your tomato plants regularly to remove any suckers, dead leaves, or diseased parts. Suckers are the shoots that grow between the main stem and the branches. They can divert energy and nutrients from the main plant and reduce fruit production. To prune them, simply pinch them off with your fingers or use a pair of scissors. Train your tomato plants to grow vertically by tying them to a trellis, a stake, or a string. This will support their weight and prevent them from sprawling on the ground. It will also improve light exposure, air circulation, and fruit quality.
- Pollination and flowering: Pollinate your tomato plant blossoms manually, as there are no insects in your hydroponic environment to do it for you. Wait until the petals bend back to expose the round pistil and the pollen-covered stamens at the flower center. Then, gently shake the flower or use a small brush or a cotton swab to transfer pollen from the stamens to the pistil. Do this for each flower on your plant. You can also use an electric toothbrush or a fan to vibrate the plant and help with pollination. To encourage flowering and fruiting, reduce the light exposure of your plants to 12 hours per day when they reach about 18 inches tall.
- Pest and disease control: Inspect your plants regularly for any signs of pests or diseases. Some common pests that can attack hydroponic tomatoes are aphids, whiteflies, spider mites, thrips, and caterpillars. Some common diseases are powdery mildew, leaf spot, blight, wilt, and blossom end rot. To prevent pests and diseases, keep your growing area clean and sanitized, remove any infected plants or parts, use biological controls such as beneficial insects or fungi, or use organic pesticides or fungicides if necessary
How to Harvest Your Hydroponic Tomatoes
The final and most rewarding step of growing hydroponic tomatoes is harvesting them. You can enjoy the fruits of your labor and taste the difference between fresh, homegrown tomatoes and store-bought ones.
Here are some tips on how to harvest your hydroponic tomatoes:
- The best time to harvest your hydroponic tomatoes will depend on the variety you are growing. However, most hydroponic tomatoes will be ready to harvest within four to six weeks of planting. You can tell when your tomatoes are ripe by their color, size, and firmness. They should be bright red (or yellow, orange, or purple, depending on the variety), full-sized, and slightly soft to the touch.
- To harvest your tomatoes, you can either pick them by hand or use a pair of scissors or a tomato knife. Gently twist or cut the tomato from the stem, leaving a small part of the stem attached to the fruit. This will help prevent bruising and rotting. Avoid pulling or tugging on the tomato, as this can damage the plant or cause the fruit to split.
- Store your harvested tomatoes at room temperature, away from direct sunlight and heat sources. Do not refrigerate your tomatoes, as this can reduce their flavor and texture. You can keep your tomatoes for up to a week if they are fully ripe, or longer if they are slightly underripe. You can also freeze, dry, can, or cook your tomatoes for longer storage.
- Enjoy your hydroponic tomatoes fresh or in salads, sandwiches, sauces, soups, or any other dishes you like. You can also share them with your friends and family and impress them with your hydroponic skills!
Conclusion
In this article, you have learned how to choose the best tomato varieties for hydroponics, how to start your hydroponic tomato seeds or seedlings, how to maintain your hydroponic tomato plants, and how to harvest your hydroponic tomatoes. You have also learned some tips and tricks to make your hydroponic tomato growing experience more successful and enjoyable. Here are some key points to remember:
- Hydroponic tomatoes are grown without soil, using a nutrient solution and an inert growing medium.
- Hydroponic tomatoes have many benefits: year-round production, faster growth, higher yield, better quality, and fewer pest and disease problems.
- Hydroponic tomatoes require a suitable hydroponic system, adequate light, optimal temperature and humidity, regular pruning and training, manual pollination, and pest and disease control.
- Hydroponic tomatoes are ready to harvest when they are fully colored, slightly soft, and have a small part of the stem attached.
- Hydroponic tomatoes should be stored at room temperature and enjoyed fresh or in various dishes.
We hope this article has inspired you to try growing hydroponic tomatoes at home. With some basic equipment, knowledge, and practice, you can enjoy fresh and delicious tomatoes anytime you want. Happy growing!
FAQs
What is the difference between determinate and indeterminate tomatoes?
Determinate tomatoes are those that grow to a certain size and then stop growing. They produce all their fruit at once and then die. Indeterminate tomatoes are those that keep growing and producing fruit until they are killed by frost or disease. Indeterminate tomatoes are more suitable for hydroponic systems because they can be trained to grow vertically and save space. They also produce a continuous harvest throughout the season.
How do I pollinate my hydroponic tomatoes?
Hydroponic tomatoes need to be pollinated manually, as there are no insects in your hydroponic environment to do it for you. Wait until the petals bend back to expose the round pistil and the pollen-covered stamens at the flower center. Then, gently shake the flower or use a small brush or a cotton swab to transfer pollen from the stamens to the pistil. Do this for each flower on your plant. You can also use an electric toothbrush or a fan to vibrate the plant and help with pollination.
How do I prevent cracking or splitting of my hydroponic tomatoes?
Cracking or splitting of hydroponic tomatoes can be caused by uneven watering, temperature fluctuations, or excessive nitrogen in the nutrient solution. To prevent cracking or splitting, you should maintain a consistent water level in your reservoir and top it up with fresh water as needed. You should also avoid extreme temperature changes in your growing area and use a thermometer and a thermostat to monitor and regulate the temperature. You should also use a balanced nutrient solution that is not too high in nitrogen and check the pH and EC levels regularly.
How do I store my harvested hydroponic tomatoes?
Hydroponic tomatoes should be stored at room temperature, away from direct sunlight and heat sources. Do not refrigerate your tomatoes, as this can reduce their flavor and texture. You can keep your tomatoes for up to a week if they are fully ripe, or longer if they are slightly underripe. You can also freeze, dry, can, or cook your tomatoes for longer storage.
How do I compare hydroponic tomatoes with soil-grown tomatoes?
Hydroponic tomatoes have many advantages over soil-grown tomatoes, such as year-round production, faster growth, higher yield, better quality, and less pest and disease problems. However, hydroponic tomatoes may also have some disadvantages, such as higher initial cost, more technical skill required, more maintenance needed, and less environmental sustainability. The choice between hydroponic and soil-grown tomatoes depends on your personal preference, budget, space, time, and goals.